Summer, 1967. I’m
leaving home at the age of 20 for a job in a big city in another province. Mom puts 2 cookbooks into my trunk; one of
them is Traditional Ukrainian Cookery
by Savella Stechisin.
Fall,
1967. I want to impress my new WASP
boyfriend with my most favourite Ukrainian food – those dumplings that nowadays
everyone calls perogies. At home, we
called them pyrohi – even though their real name is, as Mom told me,
vareniki. Pyrohi/vareniki, whatever, I
was going to make them for Mr. White Anglo-Saxon Protestant (common terminology
back then) and he was going to swoon with delight.
I could bake a cake -- the sum total of my culinary skills at that
time, but I had confidence and I had Savella.
Not only would I make dozens of plump, pretty, little pyrohi but they
would be cherry pyrohi. (Savella p. 212) I’d
never actually had cherry pyrohi but they sounded good. Details on how to make them were a bit
sketchy but that turned out to be the least of my problems.
The scene as my friend arrived: a
kitchen counter piled high with unwashed dishes, a floury floor, and a pot
boiling over onto the stove. I placed a
bowl of thin, watery, grayish blobs onto the table. My
friend looked at them and then we went out for dinner.

Christmas, 1997. My mother did all the cooking, of
course, and beamed with all our praise.
As I stuffed
myself once again on her pyrohi (starting with four and then taking a couple
more and then a few more and then a few more) I realized it was high time to learn from
the master. Mom was delighted.
“It’s all in the feel of the
dough,” she said. “If it’s not right,
you just add a handful of flour -- ”

“Stop,” I said. “I can’t do it
like that. I need exact measurements.”
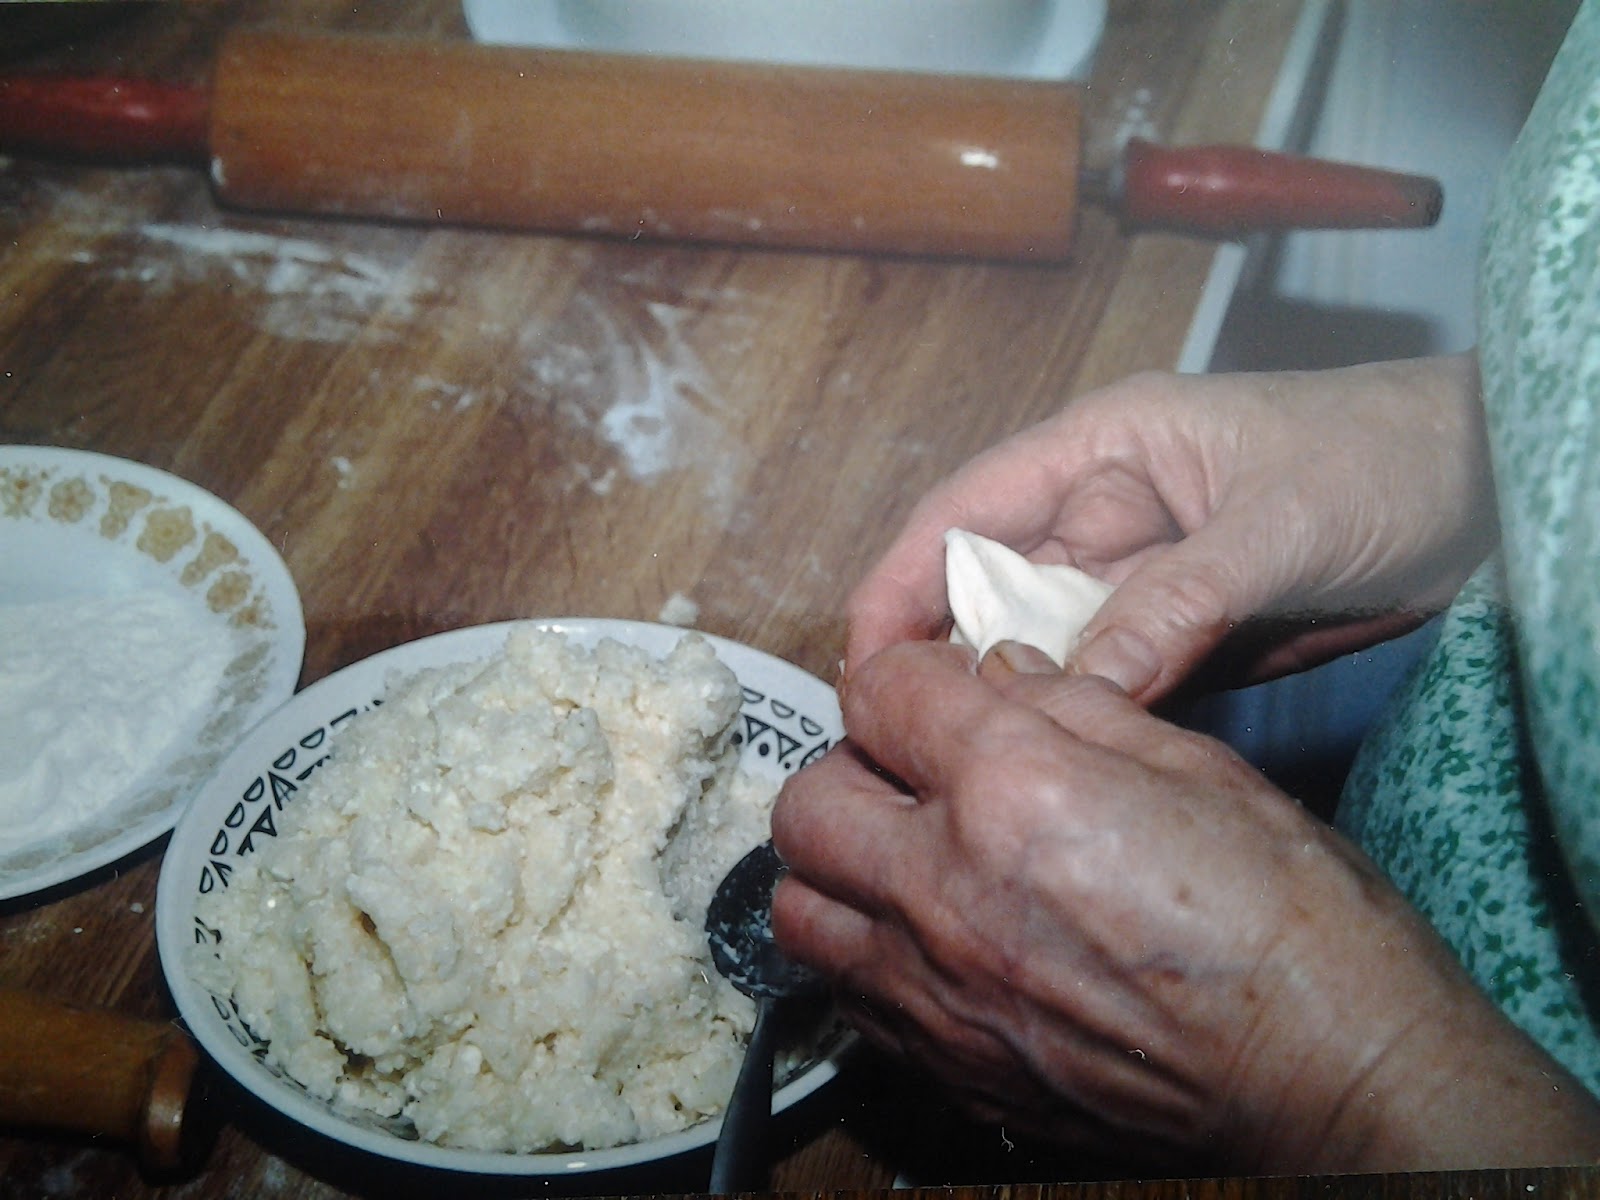
Patiently, Mom deposited her handfuls into measuring cups and we came up
with the following no-fail recipe for Cottage Cheese and Potato Pyrohi/Vareniki/Perogies:
Pyrohi (Perogies)
Prepare the filling first.
Cottage Cheese and Potato
Filling: (enough for 2 batches: 50
perogies in each batch)
1. Boil 1 ¾ pounds to 2 pounds of potatoes in
their jackets until fork tender (about 25 minutes). Drain and peel while hot. After peeling each one, mash it.
2. Add ¼ cup melted butter or margarine.
3. Add 1 ½ to 2 cups of dry cottage cheese.
4. Add 1 ½ teaspoons salt.
5. Add ½ teaspoon pepper.
6. Add a beaten egg.
7. Mix all together.
Dough (one batch – about 50 perogies)
1 egg beaten
2
tablespoons vegetable oil
1 teaspoon
salt
1 cup water
(quite warm, but not hot)
3 cups flour
1. Mix egg, oil, salt, and water in mixing bowl
before adding flour.
2. Mix well and knead into a dough.
Dough should not be hard.
3. Leave the dough on the table on a floured
surface. Turn mixing bowl upside down
over the dough. Leave one-half hour.
4. Punch down or knead a bit. Now it’s ready to use. (You can let it stay much longer.)
5. When rolling it out, use a little flour, but not much. This is very important – as this is what will
make the difference in having tender or tough perogies.
Making the Perogies
1. Put a tea towel on the kitchen table and
sprinkle it lightly with flour. Lay
another tea towel over that one.
2. Put some filling in a small bowl and set it
on the table beside the towels. Put a
small spoon in the filling.
3. Put some flour in a small bowl and set it
beside the filling.
4. On the kitchen counter, cut a piece of dough
out and roll out on lightly floured surface.
Cut in strips about 2 inches wide.
Then cut in squares. Put these
squares on the floured tea towel and cover them.
5. Fill a square. After you secure it once, dip fingers in
flour and go around once more to make sure it’s sealed.
6. Dip the bottom of the perogy lightly in flour
and cover it with the towel.
7. Use up all the dough in this way (one batch).
Boiling the Perogies
1. Set large
pot of water to boil. Water should be 3
inches from the top. Add 4 tsp. salt to
water ( 3 teaspoons in my smaller pot: this won’t be too much).
2. Fill a large mixing with cold water and set
beside the stove.
3. Put a slotted spoon beside the large pot.
4. Melt about 2 tablespoons of butter or
margarine in a mixing bowl and set aside.
5. Set up another mixing bowl in the same
way.
5. Set a colander in the sink.
6. The water in the pot should be at rolling
boil.
7. Put in about 25 to 30 perogies. Stir them and cover with lid.

8. Bubbles will come up under the lid. Stir again.
9. Boiling
time from when they go in is 3 to 4 minutes only.
10. If you are freezing this batch, dip the
perogies out and drop into cold water.
Then drain them and stir them in the melted butter. Set aside to cool. Then bag them and freeze them.
11. If you are serving this batch immediately,
skip the cold water bath. Mix them with
the butter and set aside.
12. Drop the rest of the perogies (about 25) in
the same boiling water and proceed as directed above.
Reheating Perogies
Steam for about 5 to 10 minutes. They’re ready when they look swollen.
Or
Heat in Oven: Preheat oven to 350 degrees.
Put about 25 to 30 perogies in casserole. Put in about ¼ pound butter or margarine and
¼ cup water. Bake for 35 to 45
minutes. They’re done when they look
swollen.
Or
Fry:
Melt butter
or margarine in frying pan over low to medium heat (4 on dial) and add the
perogies. Cover with lid and turn when
they are browned (about 5 minutes on each side). Check to see that heat is not too high after
3 minutes.
xxxxxxxxxxxxxxx
Note To Bloggers: My mother made the best perogies ever and I have shared her recipe. If you decide to use and copy her recipe, great, but I would appreciate it if you would acknowledge her when you do so. Thanks!
xxxxxxxxxxxxxxx
Note To Bloggers: My mother made the best perogies ever and I have shared her recipe. If you decide to use and copy her recipe, great, but I would appreciate it if you would acknowledge her when you do so. Thanks!
These are the all time greatest, no one can match them, tko perogies:)
ReplyDeleteMmm, I love perogies. And your story was a nice accompaniment. Can't wait to try these.
ReplyDeleteHi Erikita, Everyone serves perogies with sour cream, but, as a child, I loved them with thick, fresh farm cream. Devon cream or whipping cream would be the closest to that now. Let me know how the recipe works for you. E :)
DeleteThis comment has been removed by a blog administrator.
ReplyDeleteMy favourite perogy filling is potato and cottage cheese.
ReplyDeleteMarilyn Kennedy, who is one of my regular visitors on my blog: Suburbangrandma.com, sent me a link to your new blog, so I had to check it out and just love it. I love your writing style, and your Ukrainian recipes. I am also Ukrainian, and started my blog to provide easy access for my children to my recipes. I love blogging, but it does take quite a bit of time, since I prepare all the food, photograph it, and then prepare the post. But it is fun, at the same time, especially when I get comments from readers in the smallest countries around.....what a small world we live in. My son is my technical adviser, since my computer skills are somewhat limited compared to his. I am looking forward to visiting your blog regularly. Best wishes.
ReplyDeleteThank you! It's really great to get feedback. I'll be checking in on your blog next week.
Deletegreat lesson! I can't wait to try making these. I wonder if these are the way my Baba made them? I sure miss great Ukrainian food. Great blog, even with the mouse photos!
ReplyDeleteI'm sure these are the way your Baba made them. Nowadays, lots of people use a circular stamp to cut the dough but the
Deletecut squares are traditional as is pinching them together. Dip your fingers in flour from time to time. Good luck!
By the way, by "mouse" photos, do you mean they are very small? or what? LOL. I'm not great with computers.
I've made the photos bigger. Hope that helps. Some of my other posts offer other fillings. Have you tried this yet?
Delete